How to Remove Oil Pan Without Removing Engine: A Detailed Guide
Many car owners find removing the oil pan a daunting task, especially when they want to avoid removing the entire engine. You’re not alone—this can be tricky, but with the right approach, it’s definitely doable.
If you’re looking to save time and effort, knowing how to remove the oil pan without taking out the engine is a game-changer.
To remove the oil pan without taking out the engine, start by ensuring your vehicle has enough clearance and access points. Drain the oil, disconnect any external components blocking access, and carefully unbolt the pan in a crisscross pattern.
Use the right tools, clean the surfaces thoroughly, and replace the gasket properly. If you follow these steps closely, you’ll be able to do the job efficiently—continue to uncover more tips and detailed guidance.
Key Takeaways
- Make sure your vehicle’s design gives enough clearance and access so you can remove the oil pan without taking out the engine.
- Gather all the tools you’ll need, like socket sets, gasket scrapers, and safety gear, before you start working.
- Lift the vehicle securely using jack stands or ramps to get better access to the oil pan.
- Drain the oil completely, then carefully loosen the bolts in a crisscross pattern to avoid damaging anything.
- Check, clean, and replace the gasket thoroughly before putting everything back together and refilling the oil.
When Can You Remove the Oil Pan Without Taking Out the Engine?
You can remove the oil pan without taking out the entire engine if the vehicle’s design allows for enough clearance and access. Before you start, make sure the oil pan is compatible with your specific engine model, since some designs make removal easier.
Check the engine clearance around the oil pan; you need enough space to maneuver tools and detach the pan without damaging other parts. If your vehicle has a low-profile engine or an accessible underside, it’s probably possible to remove the oil pan without removing the engine.
Also, consider if the oil pan bolts are easy to reach and whether the pan isn’t blocked by other components like the crossmember or suspension parts. If these conditions are met, you can go ahead and remove the oil pan.
However, if space is tight or the oil pan is recessed deep, removing the engine might be necessary for safety and efficiency.
Gather the Tools and Safety Gear You Need
Before you jump in, make sure you gather all the tools you’ll need — things like a socket set, screwdrivers, and a gasket scraper. It’s a good idea to have everything within reach so you don’t have to scramble in the middle of the job.
Don’t forget about safety gear! Wear gloves and safety glasses to protect your hands and eyes, and a work apron can help keep your clothes clean. Setting up a clean, well-lit workspace is also important, and having a drain pan nearby will catch any oil spills, making cleanup easier.
Essential Tools Checklist
Gathering the right tools and safety gear is essential to ensure the oil pan removal process goes smoothly and safely. You’ll need basic hand tools like socket wrenches, ratchets, and extensions to remove bolts efficiently.
Make sure you select the correct socket sizes based on your oil pan types and check engine compatibility to avoid damaging parts. A gasket scraper or putty knife helps loosen the oil pan if it sticks.
A drain pan is necessary for catching residual oil, and gloves protect your hands from hot surfaces and oil. Furthermore, having a flashlight or work light improves visibility in tight spaces.
Confirm you have all these tools ready before starting to streamline the process and prevent unnecessary delays or accidents.
Safety Equipment Requirements
Having the right safety equipment is essential to protect yourself during the oil pan removal process. Proper safety gear reduces risks and keeps you safe from spills, debris, and injuries.
Always wear personal protective gear to shield your eyes, skin, and hands. Key safety items include:
- Safety goggles or glasses to protect your eyes from splashes and debris
- Heavy-duty gloves to guard your hands from sharp edges and hot surfaces
- Long-sleeve clothing or coveralls to prevent skin contact with oil and chemicals
- A dust mask or respirator if you’re working in a dusty or fumes-heavy environment
Using the correct safety gear ensures you avoid accidents and can handle the job confidently. Never skip safety precautions—your protection is worth it.
Proper Workspace Setup
Setting up your workspace properly is key for a smooth and safe oil pan removal. Start by organizing your tools and parts so they’re easy to reach. This helps you avoid unnecessary movement and mistakes.
Clear the area of clutter to prevent tripping hazards and make sure you have enough space to move comfortably. Good organization also means you won’t waste time searching for what you need, making the process more efficient.
Make sure your workspace has good lighting. Bright, even light helps you see small bolts and tricky spots clearly, reducing the chance of errors. Use a sturdy workbench or jack stands to keep the vehicle stable.
With a well-organized, well-lit area, you can work confidently and safely through each step of removing the oil pan.
Prepare Your Vehicle: Access Points and Workspace Setup
Before starting the oil pan removal, make sure your vehicle is parked on a flat, stable surface and the engine is cool. Proper preparation keeps things safe and makes access easier.
First, identify your vehicle’s access points—usually the oil pan’s drain plug and side panels—using a service manual or an online guide. Use vehicle elevation methods like jack stands or ramps to lift the front or side of the vehicle, giving you plenty of working space.
Organize your workspace efficiently by clearing clutter and laying out your tools within reach. Keep small parts and fasteners in labeled containers to avoid losing them. Tips for a good workspace include working on a clean, well-lit surface and checking that your tools are in good condition.
This setup helps you work comfortably and safely, reducing the chance of mistakes. Proper access points and strategic vehicle positioning make the removal process smoother, saving you time and effort.
Drain the Oil and Remove External Components for Better Access
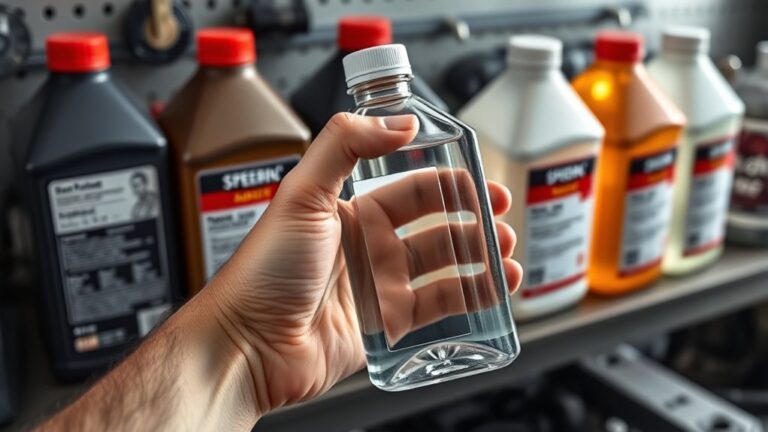
To get better access to the oil pan, start by draining the engine oil completely. Make sure you know the recommended oil type for your vehicle because proper disposal later is important.
Place a drain pan under the oil drain plug, loosen it with a wrench, and let the oil flow out. Once it’s drained, securely tighten the plug back in place.
Next, remove any external parts blocking your way, like skid plates, splash shields, or wiring harnesses. These can usually be unscrewed or unclipped with basic tools.
Remember, proper oil disposal is a must—never pour used oil down drains or on the ground. Collect the oil in a sealed container and take it to a recycling center.
Removing these external components makes it easier to see and reach the oil pan. It also makes the job safer and simpler.
Always work in a well-ventilated area and follow safety precautions to stay safe during the process.
Assess the Oil Pan and Gasket Area for Damage or Wear
First, take a close look at the oil pan and gasket area. You’re checking for any cracks, dents, or other signs of damage—that stuff can cause problems down the line. Also, examine the gasket itself; see if it looks worn out, cracked, or brittle. If the gasket is in bad shape, it might start leaking, which is something you definitely want to catch early. Taking a moment to inspect these parts now can save you a lot of trouble when you’re trying to remove and reinstall everything later on.
Visual Inspection for Cracks
Inspect the oil pan and gasket area carefully for visible cracks, dents, or signs of damage. Look closely for crack detection, which often appears as fine lines or fractures in the metal.
Visual signs of wear or damage can include warped surfaces, corrosion, or oil seepage around the edges. Use a flashlight to improve visibility in spots that are hard to see.
Keep an eye out for fine hairline cracks, dents, warping, corrosion, rust spots, or signs of oil leaks and residue buildup.
These signs help identify potential issues before you remove the pan. Remember, cracks can be subtle, so thorough visual inspection is key to avoiding future leaks or engine damage.
Addressing these signs early can save you time and effort during the removal process.
Check Gasket Integrity
Examine the gasket area carefully for signs of damage or deterioration that could lead to leaks. Check the gasket’s condition, focusing on cracks, tears, or deformities.
Different gasket types like rubber, cork, or composite use various materials that may wear differently over time. If you notice any signs of wear, consider replacing the gasket before reinstalling the oil pan.
Damaged or brittle gasket materials can cause leaks, leading to oil loss and potential engine damage. Make sure the gasket surface is clean and free of old gasket material or debris.
Proper inspection and understanding of gasket types help you decide if a replacement is necessary. This ensures a proper seal when you reassemble everything.
Removing the Oil Pan Bolts Without Engine Removal
Removing the oil pan bolts without taking out the engine can be manageable if you have the right tools and approach. First, make sure you have a socket set, a ratchet, extensions, and a gasket scraper. Accessing the bolts might require some careful positioning to reach tight spots.
Use a swivel socket for better maneuverability around obstacles. Loosen the bolts gradually in a crisscross pattern to prevent warping. Keep track of the bolt sizes and their locations so you can put everything back correctly.
If the bolts are stubborn, apply penetrating oil before trying to remove them. Taking your time and working carefully can make this job much easier.
Detaching the Oil Pan Without Causing Engine Damage
Carefully detaching the oil pan without damaging the engine requires patience and proper technique. Start by making sure you’re using the right tools and following the manufacturer’s guidelines for your specific engine.
Before removing the oil pan, drain the oil completely and note the oil type so you can replace it with the same kind later. Gently loosen the bolts, working in a pattern to prevent warping the pan or damaging the gasket surface.
Use a plastic scraper if needed to break the seal without gouging the metal. When lifting the pan, do it slowly to avoid putting stress on neighboring parts.
| Step | Tip | Caution |
|---|---|---|
| Drain oil | Use the right oil type | Avoid spills |
| Loosen bolts | Work in a pattern | Prevent warping |
| Lift pan gently | Use proper tools | No engine damage |
Taking your time with each step ensures a damage-free removal process.
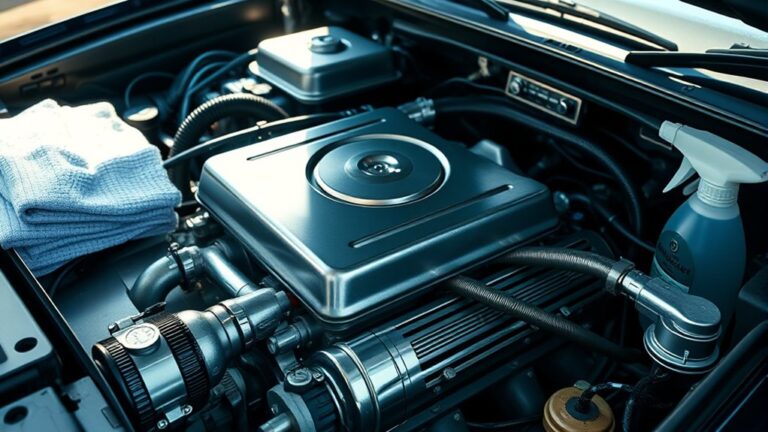
Inspect and Clean the Oil Pan and Gasket Surface
Before putting the oil pan back on, take a good look to see if there’s any rust or damage that might lead to leaks. It’s important to clean off all the old gasket material completely so everything seals up nicely. And don’t forget to double-check that the gasket surface is smooth and flat—that way, you won’t run into any problems down the line.
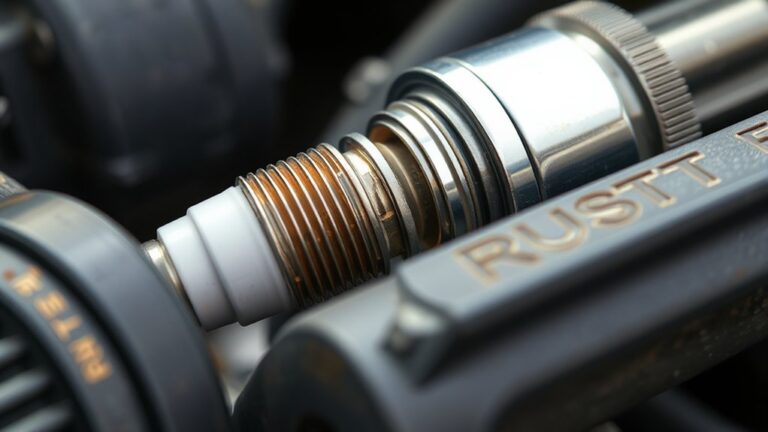
Check for Corrosion or Damage
Since corrosion or damage can weaken the oil pan’s structure, it’s important to inspect the surface carefully. Look for signs like rust or pitting, which can damage the metal. Also, check for dents, cracks, or warping that could lead to leaks or failure.
Removing dirt and debris helps you spot hidden problems more easily. Keep an eye out for rust patches or flaking paint, dents or bent edges, cracks or holes, and corrosion around bolt holes.
Dealing with corrosion early is crucial to prevent bigger issues later. If you notice any damage or rust, clean the area thoroughly and consider fixing it before moving on. This step helps ensure the oil pan seals properly and stays reliable over time.
Remove Old Gasket Residue
After inspecting the oil pan for corrosion or damage, the next step is to remove any old gasket residue. Start by choosing effective gasket cleaning techniques, like using a plastic scraper or a gasket remover solvent.
Be careful to avoid gouging the metal surface. For stubborn residue, apply a gasket removal spray and let it sit for a few minutes to loosen the material.
Use a plastic scraper or a non-abrasive pad to gently scrub away the residue, making sure you don’t damage the gasket surface. For hard-to-remove spots, a soft-bristle brush can help.
Always clean the surface thoroughly, removing all gasket remnants to guarantee a proper seal when installing the new gasket. Proper residue removal methods guarantee a clean surface for the next steps.
Ensure Surface Is Flat
To guarantee a proper seal when installing the new gasket, you need to verify that the oil pan and gasket surface are flat and free of debris. Proper surface preparation ensures the oil pan lines up correctly and helps prevent leaks.
Start by inspecting the surface for warping or damage. Use a straightedge to check for uneven spots, and gently sand down high areas with fine-grit sandpaper.
Clean the surface thoroughly with a solvent to remove oil, dirt, and old gasket residue. Make sure the surface feels smooth and is completely dry before moving on.
- Check for warping or damage with a straightedge
- Carefully sand high spots for an even surface
- Clean thoroughly with a solvent to remove debris
- Confirm the surface is dry and free of oil for the best gasket seal
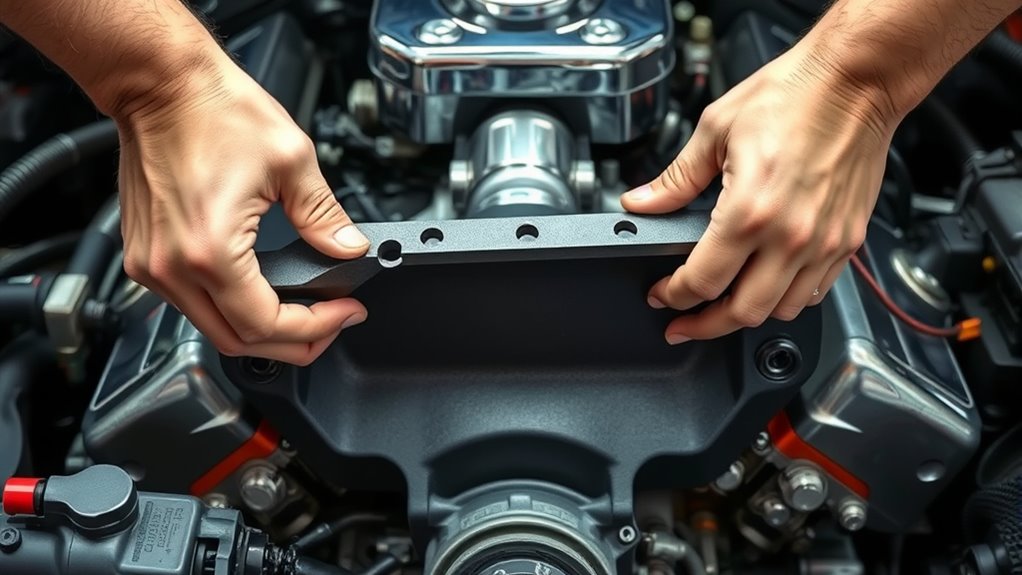
Install a New Oil Pan Gasket and Reattach the Oil Pan Properly
Carefully clean the mating surfaces of the oil pan and engine block to remove any old gasket material, dirt, or debris. This guarantees a proper seal and helps prevent leaks.
Once clean, apply a new gasket material if required, or set the new gasket in place, aligning it correctly with the bolt holes.
Position the oil pan back onto the engine, making sure it sits flush against the surface. Tighten the bolts gradually in a crisscross pattern, following the manufacturer’s torque specifications closely.
Using the correct torque guarantees the gasket is compressed evenly, which helps prevent leaks or damage. Don’t overtighten, as that can warp the oil pan or damage the gasket.
Double-check that all bolts are secure and evenly torqued. Proper installation of the gasket and oil pan is essential for a leak-free seal and a long-lasting repair.
Once everything is tightened correctly, you’re all set to move on to the next step.
Refill Oil and Check for Leaks After Reassembly
Once you’ve tightened all the bolts and ensured the oil pan is sealed properly, it’s time to refill the engine with oil. Make sure to select the correct type of oil for your vehicle for best performance. Pour the oil slowly, checking the level often so you don’t overfill.
After adding oil, start the engine and let it run for a few minutes. This helps circulate the oil and makes sure there are no leaks. Next, check everything again to confirm it’s secure.
Inspect the oil pan and the area around it for any signs of leaks. Check the oil level once more with the dipstick, and add more if needed. Listen for any unusual noises that might mean a leak or an improper seal.
Finally, look under the vehicle after shutting it off for oil spots. Doing these checks ensures you’ve got a good seal, used the right oil, and prevented future leaks.
Frequently Asked Questions
Can I Remove the Oil Pan on All Vehicle Models Without Engine Removal?
You can’t remove the oil pan on all vehicle models without removing the engine because oil pan compatibility varies based on engine design.
Some vehicles allow access from underneath, making it easier to remove the oil pan without engine removal. Others, however, require removing the engine entirely for proper access.
It’s important to check your vehicle’s specific engine layout and design before trying to remove the oil pan. Always consult the manufacturer’s guidelines to see if engine removal is necessary.
Whether you can do it without removing the engine really depends on the make and model of your vehicle.
How Long Does It Typically Take to Remove the Oil Pan Without Engine Removal?
On average, removing an oil pan without taking out the engine takes about 2 to 4 hours. Imagine working underneath your car for a couple of hours, carefully applying techniques that need patience and precision.
Getting access to the engine can be tricky but doable if you have the right tools. The time it takes really depends on your experience, the vehicle model, and whether you run into stubborn bolts or debris.
Proper planning helps make the process smoother and faster. With the right approach, you can get the job done efficiently without removing the engine.
Are Special Tools Required for Removing the Oil Pan Without Engine Disassembly?
You don’t usually need specialized equipment to remove the oil pan without engine disassembly, but having the right tools can make the job easier.
You’ll need basic hand tools like socket wrenches and possibly a gasket scraper.
Make sure to follow the manufacturer’s torque specifications when reinstalling bolts to avoid leaks or damage.
Check if the oil pan has any unique fasteners or requires sealant, and use the proper tools accordingly.
What Are Common Mistakes to Avoid During Oil Pan Removal?
Don’t let small mistakes turn into big leaks. Think of it as avoiding a ticking time bomb. When removing the oil pan, be careful not to damage the gasket or use the wrong type, which can lead to leaks.
Always clean the surfaces thoroughly to prevent debris from causing problems later. Over-tightening bolts can warp the pan, so tighten them evenly and gradually.
These precautions will help prevent leaks and ensure a successful repair.
Is It Necessary to Replace the Oil Pan Gasket Every Time?
You don’t always need to replace the oil pan gasket every time, but doing so can help it last longer and prevent leaks later on.
If the gasket shows signs of damage, wear, or deterioration, it’s best to replace it to ensure a good seal.
Even if it looks fine, swapping it out during removal is a smart preventative move.
This can help you avoid leaks down the road and make sure you get a secure, long-lasting seal.
Conclusion
With patience and the right tools, removing your oil pan without pulling out the engine is completely doable—like performing open-heart surgery on your car with precision. Just take your time, follow the steps carefully, stay safety-conscious, and double-check your work.
Before you know it, you’ll have your vehicle running smoother than a brand-new engine. Remember, a little effort now saves you from a costly mechanic visit later. Your car will thank you with years of reliable service, especially when you know how to remove the oil pan without removing the engine.