Car Dies After Removing Jumper Cables! Use These Fixes
Having your car stall right after removing jumper cables can be incredibly frustrating. If you’re like many car owners, you’ve probably wondered what went wrong and how to fix it quickly.
You’re not alone; this is a common issue that many people struggle with after jump-starting their vehicle.
If your car stalls after removing jumper cables, it’s likely due to electrical issues or improper jump-start procedures.
Make certain your connections were correct, especially the negative cable to a metal ground, and that the battery and alternator are in good shape.
Test the voltage levels and check for corrosion.
Reset the electrical system if needed, and make sure you run the engine after jump-starting.
To find out more tips and troubleshooting steps, keep exploring these fixes.
Key Takeaways
- Make sure to test the battery and alternator to check their voltage and charging ability. This helps you see if they’re functioning properly.
- Look for loose or corroded wiring connections that could be messing with the electrical flow. Keeping these clean and tight is key.
- When jump-starting, double-check that you connect the jumper cables in the right order and touch the correct points. It can save you a lot of trouble.
- To reset your vehicle’s electrical system, disconnect the battery terminals, then reconnect them properly. This can sometimes clear up issues.
- Regularly clean and maintain your battery terminals to keep good connections. Poor connections can cause your car to stall or die after removing jumper cables.
Why Does Your Car Stall After a Jump-Start? Causes and Fixes
If your car stalls shortly after a jump-start, it’s often due to issues with your charging system or battery. One common cause is battery drain, where your battery can’t hold a charge because of age or damage, making it unable to power the engine’s electrical needs.
Electrical problems, like a faulty alternator or loose wiring, can also cause your vehicle to stall once you remove the jump cables. When the alternator isn’t working properly, it can’t recharge the battery, leading to quick drain and engine shutdown.
Parasitic electrical drains, where components like lights or alarms keep drawing power, make the problem worse. To fix this, check the battery’s health, ensure the alternator is charging correctly, and inspect wiring connections.
Fixing these issues helps prevent battery drain and keeps your vehicle running smoothly after a jump-start.
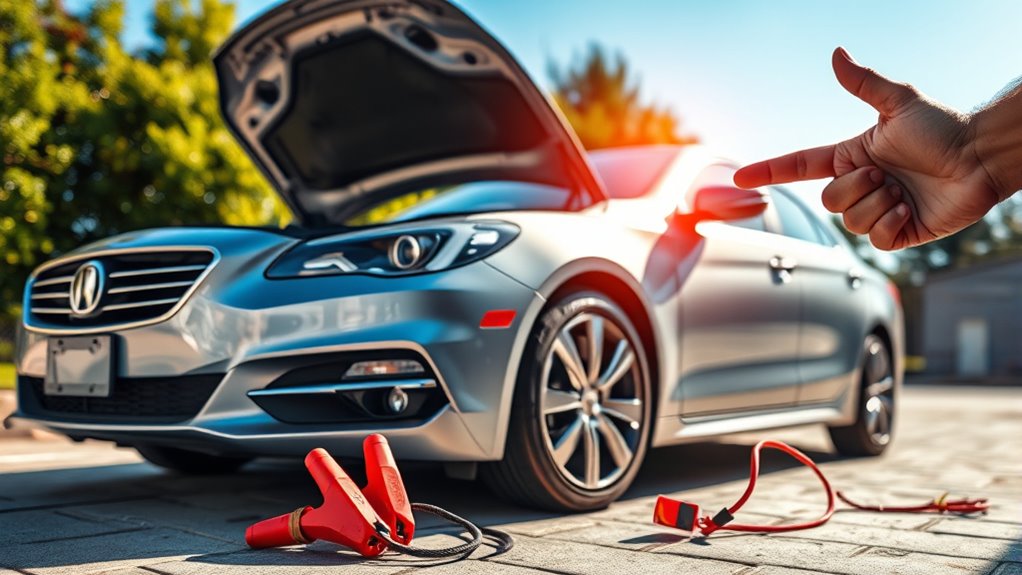
Make Sure You Connect Jumper Cables Properly
When you’re connecting jumper cables, just make sure you do it the right way. That means hooking up the red cable to the positive terminal and the black cable to the negative terminal. It might seem simple, but getting the polarity right is super important to avoid messing up your car’s electrical system.
Also, double-check that the clamps are firmly attached to clean, solid spots on both batteries. Loose or dirty connections can cause problems or even prevent the jump-start from working. When everything’s connected properly, it’ll be safer and more reliable, helping you get your car started without any issues or the risk of stalling afterward.
Correct Cable Polarity
Connecting jumper cables with the correct polarity is essential to prevent damage to your vehicle’s electrical system. You need to identify the battery terminals—positive (+) and negative (–)—and follow the proper connection sequence.
First, connect the positive (red) cable to the dead battery’s positive terminal. Then, attach the other end of the positive cable to the donor vehicle’s positive terminal.
Next, connect the negative (black) cable to the donor vehicle’s negative terminal. Finally, attach the other end of the black cable to an unpainted metal surface on the dead vehicle, away from the battery.
Making sure you get the cable polarity right helps avoid sparks, electrical shorts, and potential damage to your vehicle’s components. Always double-check the battery terminals and connection sequence before starting the jump.
Secure Connection Points
Securing the jumper cables properly is key to a safe and effective jump-start. Make sure you connect the cables to the correct battery terminals on each vehicle, and check that the connections are solid.
Loose or weak connections can cause sparks, block proper current flow, and even cause your car to die once you remove the cables. Always clamp the positive (red) cable tightly onto the positive terminal, and do the same with the negative (black) cable on the negative terminal.
Double-check that each connection is firm and secure to avoid issues during the jump. Properly secured points ensure consistent power transfer and help prevent damage to your vehicle’s electrical system.
Never underestimate the importance of tight, clean contact at each battery terminal. It makes all the difference for a safe and smooth jump-start.
Test Your Car’s Battery and Alternator Health
Want to make sure your car keeps running smoothly? It’s a good idea to test your battery’s voltage and check how well your alternator is doing its job. These simple checks can give you peace of mind and help you catch any problems early on.
One helpful step is doing a load test. Basically, it shows you how your battery handles stress and whether it’s still in good shape. Taking a few minutes to do these tests can save you from unexpected stalls and breakdowns down the road.
Check Battery Voltage
If your car dies after removing jumper cables, checking the battery voltage is an important step to figure out what’s wrong. Use a multimeter to monitor the voltage and get an accurate reading of your battery’s condition.
A healthy, fully charged battery should read around 12.6 volts when the engine is off. If the voltage is much lower, it means the battery is discharged or failing, which could cause your car to stall.
Regularly testing your battery’s voltage helps prevent unexpected breakdowns. Keep an eye on its health, especially after jump-starting, to make sure it can handle your vehicle’s electrical needs.
If you notice the voltage is inconsistent or low, it’s a good idea to replace or have your battery professionally tested to avoid future problems.
Inspect Alternator Output
After checking your battery voltage, it’s important to verify whether your alternator is working properly. A failing alternator can drain your battery and cause your car to stall.
To test the alternator, use a multimeter to check the output voltage while the engine is running. You should see around 13.8 to 14.4 volts. If it’s lower, your alternator isn’t charging the battery properly.
Pay attention to voltage regulation too. Your alternator should keep a steady voltage without big fluctuations. If the voltage drops below normal or fluctuates a lot, your alternator might be faulty.
Proper testing helps you figure out if the alternator is causing your car’s stalling issues. Catching problems early can prevent your battery from draining and keep your vehicle running smoothly.
Conduct Load Test
Performing a load test on your battery and alternator gives you a real-world idea of how well they handle electrical demands. It simulates the current your vehicle experiences when starting or running accessories, showing you the true performance of your battery.
Using a load tester, you apply a controlled load to the battery while keeping an eye on the voltage levels. If the voltage drops below the recommended threshold, it could mean your battery is weak or failing.
Testing the alternator’s output during a load test shows if it can keep up with the electrical load. This helps determine if it’s maintaining proper voltage under stress.
This process helps you figure out whether your battery or alternator is causing your car to die after removing jumper cables. Regular load testing keeps your electrical system reliable and can prevent unexpected breakdowns due to hidden issues.
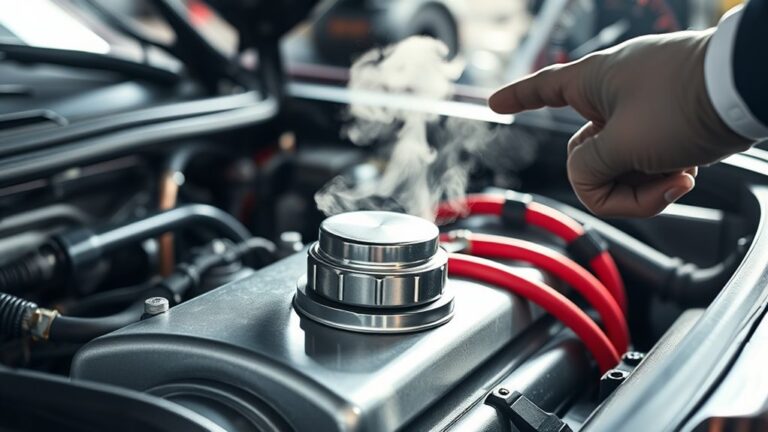
Safely Test Your Car’s Electrical System
Before testing your car’s electrical system, make sure the vehicle is turned off and the keys are removed. This keeps you safe and helps prevent any damage.
Start by inspecting the battery terminals for corrosion or loose connections. Cleaning the terminals and tightening the electrical connections is part of proper battery maintenance.
Next, set your multimeter to measure voltage. Place the probes on the battery terminals. A healthy battery should read around 12.6 volts.
If the voltage is low, your battery might need charging or even replacement.
| Step | Action |
|---|---|
| Check battery terminals | Look for corrosion and tighten connections |
| Measure voltage | Use a multimeter and verify around 12.6V |
| Inspect wiring | Look for damaged or loose electrical connections |
This simple check helps you spot issues before moving on to more complex repairs.
Common Mistakes That Cause Your Car to Turn Off After a Jump
A common mistake people make is using jumper cables the wrong way, which can actually stop your car from staying on after the jump. It’s pretty easy to do it incorrectly if you’re not familiar with the proper order or connection points, so just be careful.
Another thing to watch out for is trying to jump-start your car while the engine is still running. That can cause electrical problems or damage your vehicle’s systems. Usually, it’s best to turn off your engine first, then connect the cables, and start your car afterward. If you skip that step, your car might turn off once you remove the cables.
Incorrect Jumper Cable Usage
Incorrectly using jumper cables is a common mistake that can cause your car to turn off after a jump. Poor safety practices, like connecting the wrong terminals or skipping steps, can mess up your vehicle’s electrical system.
Always follow proper jump start tips: connect the positive (red) clamp to the positive terminal first, then attach the negative (black) clamp to the engine block or chassis away from the battery. Avoid crossing cables or touching clamps together.
After starting your car, remove the cables in the reverse order, making sure all connections are secure. Misusing jumper cables can cause electrical surges or short circuits, which may turn off your engine or damage components.
Pay close attention to jumper cable safety to prevent these issues and ensure a successful jump start.
Engine Running While Jumping
Keeping your engine running while jumping can seem helpful, but it often causes problems if you’re not careful. Many people forget how important proper jumper cable safety really is for troubleshooting your engine.
Leaving the engine on during a jump can cause voltage spikes or overload the electrical system, which might make your car shut off unexpectedly. It’s best to turn off your engine before connecting or disconnecting the cables to avoid damage.
Once the cables are securely attached, start the donor vehicle first, then your car. After the jump, turn off both engines before removing the cables. This way, the process is safer and reduces the risk of your car dying afterward.
Following proper procedures helps keep your vehicle’s electrical system healthy and prevents unnecessary trouble down the line.
How to Reset Your Car’s Electrical System Step-by-Step
Resetting your car’s electrical system can often fix issues caused by power disruptions or glitches. To do this, start by turning off the ignition and removing the key.
Next, disconnect the negative terminal of the battery first, then the positive terminal. This helps prevent any electrical shorts during the process.
Wait about 10-15 minutes to allow the electrical components to drain residual power. This pause resets the system and clears temporary glitches.
Afterward, reconnect the positive terminal first, then the negative terminal, tightening each clamp securely.
Once everything’s reconnected, turn on your ignition without starting the engine. Check if the dashboard lights and infotainment systems are working normally.
If problems still persist, you might need to reset other system modules with a scan tool or consult a professional.
This step-by-step process helps ensure your vehicle’s electrical system is refreshed and ready to function properly.
Reconsider Your Jump-Start Technique for Better Results
After reconnecting your battery and checking the electrical system, it’s a good idea to reconsider your jump-start technique for better safety and results. Proper methods help prevent damage to your vehicle’s electrical parts and keep you safe.
Start by attaching the positive (red) clamp to the dead battery’s terminal. Then, connect the other positive clamp to the live battery. Next, attach the negative (black) clamp to the live battery.
Attach the positive clamp to the dead battery, then connect the other positive to the live battery.
Instead of connecting the last black clamp directly to the dead battery’s negative terminal, connect it to an unpainted metal surface away from the battery. This reduces the chance of sparks and potential hazards.
Also, think about your battery maintenance habits. Regularly check for corrosion and make sure the terminals are clean. A well-maintained battery is less likely to need emergency jump starts and lasts longer.
Improving your jump-start technique and keeping your battery in good shape can save you time, avoid damage, and help keep your vehicle running smoothly.
Fixing a Weak or Dead Battery After a Jump
If your battery stays weak or dead even after a jump-start, you need to take some specific steps to fix the issue. First, make sure your battery has enough charge by letting the engine run for at least 15-30 minutes. This helps the alternator recharge the battery.
Next, do some regular battery maintenance like cleaning corrosion off the terminals and checking for loose connections. Always follow jump-start safety rules to avoid electrical mishaps.
Here’s a quick reference:
| Step | Action |
|---|---|
| Check terminals | Clean and tighten connections |
| Test the battery | Use a multimeter or get it tested |
| Use a charger | Fully charge the battery if needed |
| Drive regularly | Keeps the battery charged naturally |
| Replace if needed | Consider a new battery if problems continue |
Following these tips will help keep your battery healthy and reduce the chances of it dying unexpectedly.
Troubleshoot Alternator Problems That Cause Car Stalls
When your car stalls unexpectedly, a common culprit is a faulty alternator that isn’t charging the battery properly. To troubleshoot, start with alternator testing using a multimeter. Check the voltage at the battery terminals with the engine running; it should read between 13.8 and 14.8 volts.
If it’s lower, your alternator may not be generating enough power, causing electrical issues that lead to stalling. Also, listen for unusual noises or signs of belt slippage, which can affect alternator performance.
Inspect the alternator’s connections for corrosion or looseness, as poor wiring can hinder charging. If the testing indicates a problem, consider replacing the alternator.
Electrical issues from a failing alternator could cause your car to lose power suddenly, especially after removing jumper cables. Regular alternator testing helps catch these problems early, preventing unexpected stalls and keeping your vehicle’s electrical system reliable.
Prevent Future Car Stalls After Jump-Starting
To prevent your car from stalling after jump-starting, it’s important to follow proper procedures and maintenance routines. Start by making sure your battery is well-maintained with regular tips like cleaning terminals and checking the charge.
Before jump-starting, always follow precautions such as connecting the cables correctly and waiting a few moments before removing them. Once your engine is running, keep it on for at least 15-30 minutes to let the alternator recharge the battery fully.
Avoid turning off the engine immediately after a jump-start unless you’ve confirmed the battery is charging properly. Regularly check your battery’s health and replace it if it shows signs of weakness.
Proper maintenance and careful jump-start procedures help stabilize your electrical system, reducing the risk of future stalls. Staying proactive with battery care ensures smoother starts and longer-lasting performance.
Frequently Asked Questions
Can a Faulty Alternator Cause My Car to Stall After Jump-Starting?
Yes, a faulty alternator can cause your car to stall after jump-starting.
Signs like dim lights, slow electrical systems, or a dead battery suggest issues that could lead to jump start problems.
When the alternator isn’t charging properly, your car might run briefly but then stall once the battery power runs out.
Getting your alternator tested and replaced if needed can help prevent these jump start issues and keep your engine running smoothly.
How Do I Know if My Battery Needs Replacement Instead of Recharging?
You can tell your battery needs replacing if it’s old, usually over three to five years, and fails a simple load test with testing tools.
Imagine testing your battery’s voltage and cranking power. If it reads low or drops considerably when started, it’s time for a new one.
Visual signs like corrosion, swelling, or leaks also indicate it’s reached the end of its lifespan and needs replacement.
Is It Safe to Jump-Start a Car With a Damaged or Leaking Battery?
It’s not safe to jump-start a car with a damaged or leaking battery. Battery safety is really important because leaks can release harmful acids, which could cause injury or damage.
Before you try to jump-start, always check for leaks or corrosion. Look for signs like swelling, cracks, or fluid leaks on the battery.
If you see any damage or leaks, don’t attempt to jump-start. Instead, replace the battery to stay safe.
Always prioritize safety to avoid accidents or causing more damage.
What Should I Do if My Car Still Stalls After Fixing the Electrical System?
Like a knight with a broken sword, if your car stalls after fixing the electrical system, you should check for engine performance issues and fuel problems.
First, verify your fuel tank isn’t empty. Then, inspect the fuel filter and injectors for clogs. It’s also wise to scan for trouble codes, as lingering issues could be causing stalls.
Sometimes, a simple tune-up or professional diagnosis restores smooth driving.
Can Environmental Factors Affect the Success of Jump-Starting and Subsequent Stalling?
Yes, environmental factors like weather effects and temperature extremes can impact jump-start success and cause stalling. Cold weather reduces battery efficiency, making it harder to start your car and increasing the chance of stalling afterward.
In hot conditions, batteries can overheat and lose power faster. To improve your chances, verify your battery and connections are in good shape. Consider using a battery warmer or parking in a sheltered area during extreme weather.
Conclusion
If your car stalls after removing jumper cables, you’re not alone. About 30% of drivers face this problem at some point.
Properly connecting the cables, testing your battery and alternator, and avoiding common mistakes can save you time and hassle. Taking these steps helps ensure everything is set up correctly.
Remember, a well-maintained electrical system lowers the chance of stalls. That way, you’re among the 70% of drivers who start smoothly every time.
Stay vigilant and keep your car running reliably. These simple fixes can make all the difference, especially if your car dies after removing jumper cables.